Here is a quick instruction set on how to setup a Raspberry Pi Full Desktop Image with a basic configuration completed so a fresh build can be put on an SD card from an image so you wont have to start from scratch for each new project/rebuild.
For instructions on creating a base image for Raspbian Light, see the following link – Raspbian Lite Base Image
You don’t need to complete every one of the options below, just the ones that suit you.
**work in progress**
Software
Download the following 3 required applications to enable the install and config the Raspbian OS.
SD Card Formatter – required
https://www.sdcard.org/downloads/formatter_4/
Win32DiskImager– required
https://sourceforge.net/projects/win32diskimager/
Raspbian Jessie Full Image (2016-03-18) – required
https://www.raspberrypi.org/downloads/raspbian/
2 optional applications are listed below for remote access to the RPi
Putty – optional
http://www.chiark.greenend.org.uk/~sgtatham/putty/download.html
WinSCP – optional
https://winscp.net/eng/download.php
Lets Get Started!
Start off by formatting the SD card using ‘SD Card Formatter’.
Then
Write the raw downloaded Raspbian Operating System Image to the SD card using ‘Win32DiskImager’.
Place the SD card into the Raspberry Pi and power up.
Install done, Setup time
There are 2 ways to connect into the Raspberry Pi, using a keyboard/mouse and monitor directly connected to the RPi or connect remotely using Putty.
For this guide we will be using Putty to remotely connect, you will need to find out the IP address of the RPi, check your DHCP server for this information.
Login as pi/raspberry

Update Raspbian
sudo apt-get update
sudo apt-get upgrade
sudo apt-get dist-upgrade
sudo apt-get clean
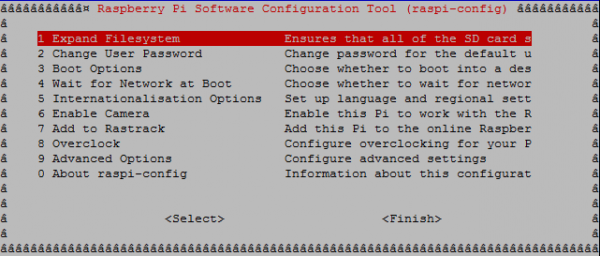
Enter the Raspbian Setup
sudo raspi-config
![]()
Expand file System
Select option:
1 Expand Filesystem
![]()
Select option:
<Ok>
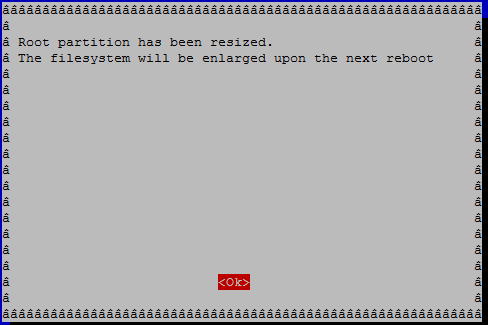
You will be returned to the Raspi-Config menu
Enable Login to Desktop with the user Pi – option
Select option:
3 Boot Options
![]()
Select option:
B4
![]()
You will be returned to the Raspi-Config menu

Set Host name – option
If your creating a base image it would be best to name the device something so it stands out on your network as ‘the new device’ rather then just another RPi device. to do this i set the Hostname as HHFT, no other devices on the network will have this name…
Select option:
9 Advanced Options
![]()
Select option:
<Ok>
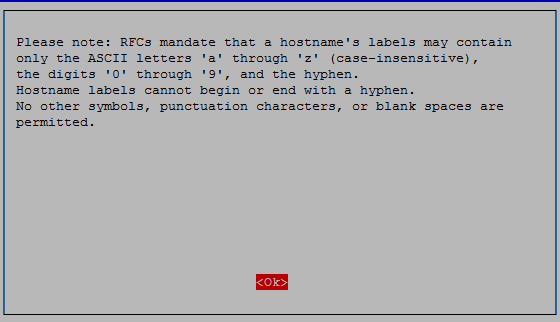
Enter a Host name and Select
<Ok>
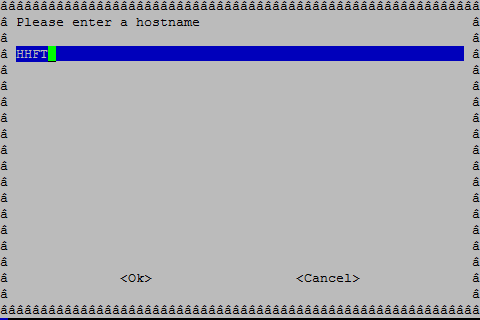
You will be returned to the Raspi-Config menu

Overclock – option
Select option:
8 Overclock
![]()
Select option:
<Ok>
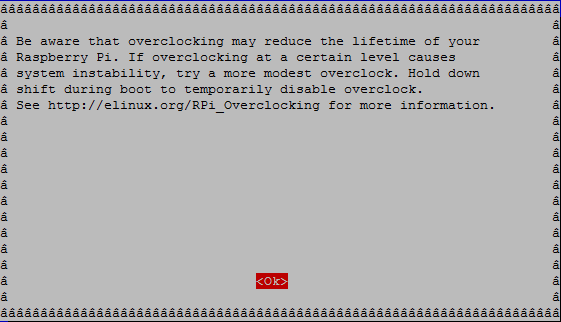
Select option:
High 1000MHz ARM,..............
And then
<Ok>
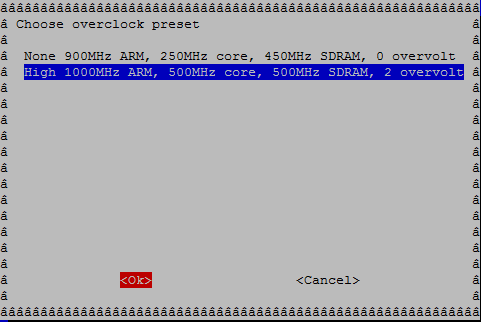
Select option:
<Ok>
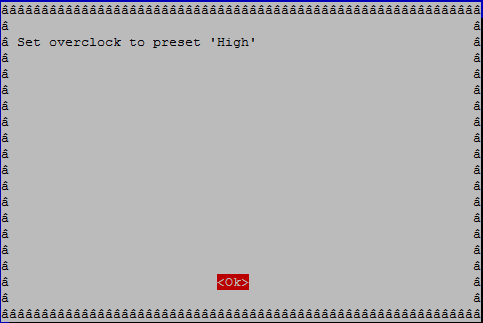
You will be returned to the Raspi-Config menu

Select option:
<Finish>

Select option:
<Yes>
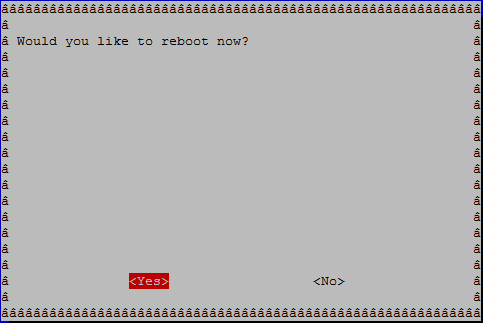
The system will now reboot
WiFi Connection – option
If you want to add a WiFi config to your base image, see this post on RPi WiFi setup
Force the screen to stay On – option
After approx 15 minutes with no user input the screen will go black, to stop this the lightdm.cofig file must be edited;
sudo nano /etc/lightdm/lightdm.conf
Add/edit the following lines to the [SeatDefaults] section:
# don't sleep the screen
xserver-command=X -s 0 dpms
Force HDMI Output – fix
Some devices may not immediately notice the Pi’s HDMI or may not do the negotiation.
Update the .config file to force the HDMI output and mode
The .config file is access through a PC, mount the SD card and open the drive in ‘My Computer’
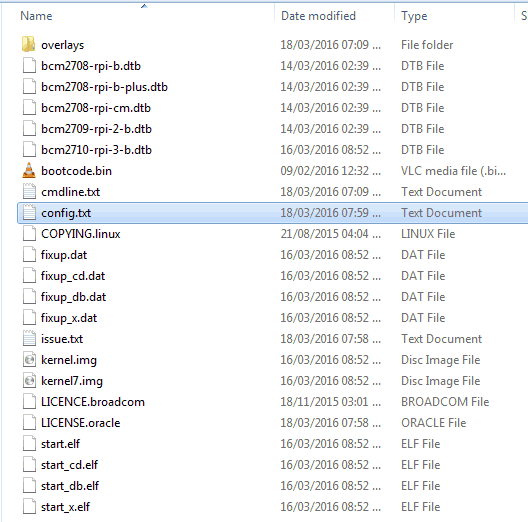
Open the Config.txt using a notepad editor.
Update the Following lines as applicable:
![]()
HDMI not detected – fix
Increase signal strength (max value= 9)
![]()
HDMI Group
This defines the HDMI output group to be either CEA (Consumer Electronics Association, the standard typically used by TVs) or DMT (Display Monitor Timings, the standard typically used by monitors). This setting should be used in conjunction with hdmi_mode.

(use hdmi_group=1 and if it is an older TV, try hdmi_group=2.)
| hdmi_group | result |
| 0 | Auto-detect from EDID |
| 1 | CEA |
| 2 | DMT |
HDMI Mode
See https://www.raspberrypi.org/documentation/configuration/config-txt.md for mode settings

Do not set hdmi_safe=1 as this overrides many of the previous options.
Wrap it all up ready for next time
Once your happy with the base image, using WinDisk32, we can save the contents of the SD card back to an image file on your PC, ready to write to another SD card for the next project.
Finally
Don’t forget to run an update on Raspbian when you come to use it in your next project:
sudo apt-get update
sudo apt-get upgrade
sudo apt-get dist-upgrade
sudo apt-get clean
